
How to Mask & Drybrush
over a colored ground
DIY acrylic painting tutorial
Why do this? Using blue painter’s tape to “mask out” sections of a
painting will allow you to texture paintings with drybrushing while still
getting crisp, clean edges. This tutorial extends the former one on how to test and mix colors.
- Blue painter's tape for delicate surfaces
- acrylic paint: two different colors, each mixed into three different values: dark, medium, and light
- plastic palette
- Flat brush (nylon or bristle)
- water tub
- plenty of paper towel (Paper towel works better than a rag for drybrushing)
- airtight plastic container (for stay-wet paint storage)
- Lay some blue tape across your dried, base painted canvas.
- Make sure the tape is long enough that it goes
all the way over the side and onto the back a bit.
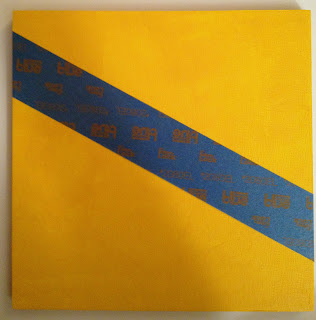
- Smooth it down with your finger starting on one end and continuing all the way along the tape.
- Place dabs of one color set on the palette: for example: (dark violet medium violet, and light violet)
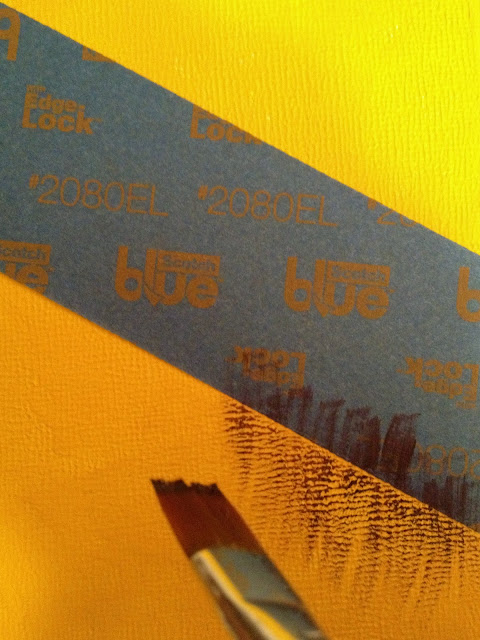
- How to "load" the brush for drybrushing: Start with the darkest value. Take a very dry, flat brush and just barely dip the tip of it in the darkest paint.
- Find a clean part of the palette and brush back and forth over that spot, thinning out the paint. When it seems so thin you can see the brush and no globs of paint on the brush, you are ready to use this loaded brush on the canvas.
- Lightly, lightly tickle the surface of your canvas with the brush.
- The paint should coat the raised parts of the surface and let the colored ground show through the recessed areas.
- When you are done, rinse your brush thoroughly. Then, dry it as much as you can.
- Continue this process using the medium value paint, then the lightest value paint.

- Then do the same process for your second color set (dark, medium, and light red-orange in my example.)

- When you are completely done with drybrushing in both colors, do a deep clean of your brush (soap and water and ensuring nothing is stuck in the ferrule.)
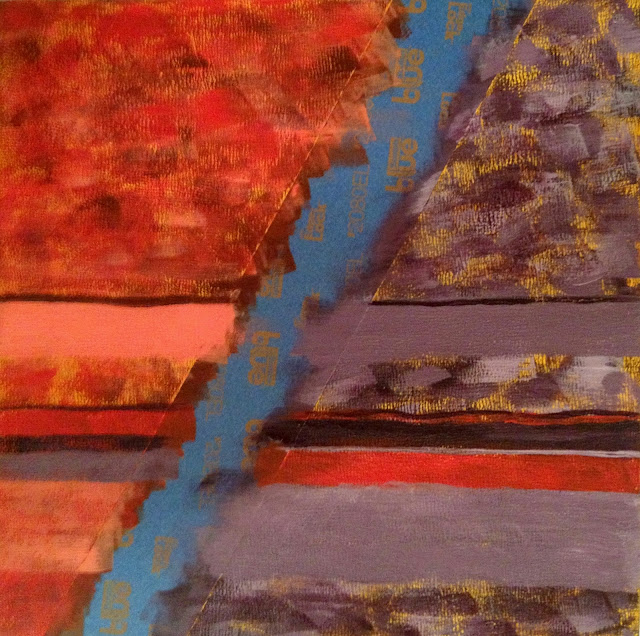
- When you finish cleaning, you are ready to remove the blue tape. Start at one end and carefully, slowly pull, trying to keep the tape low to the surface without getting your hands full of paint. Beneath the tape will be your colored ground. The edges of the masked off shapes should be relatively smooth. For a completely smooth line, see my other tutorial on this.
- Discard the tape. Let the painting dry.


 |
| In this sample, I included some "wet-on-dry" marks for variety. They are the dark patches. |


No comments:
Post a Comment